Monthly Archives: October 2013

Snowball

October 31, 2013

A few months ago Andrew and I were busy working on other projects/jobs.  This was just an idea.  Then we decided to focus.  Now the snowball effect is in full force.

Yesterday I was in Portland meeting fabric suppliers and doing in-store research.  This was eye-opening.  There are so many fabrics to choose from.  In general, it seems like Portland is undergoing a kind of renaissance with soft goods design, prototyping, and small run production.  Here are some pics from one of the textile distributors:

IMG_3448 - Copy

IMG_3449 - Copy

Visiting various outdoor stores, it’s obvious that the technical fabrics they’re using for packs are high specialized, and not something that we’ll find in stock from a normal local supplier.  It has been a while since I went backpack shopping, and I was blown away by how many crazy fabrics are in use and how much “bling” you can get on your pack.  I snapped a bunch of pics.  Here’s a few examples.

IMG_3427 IMG_3431 IMG_3432 IMG_3440 - Copy IMG_3437 - Copy  IMG_3434 IMG_3433

I particularly liked the fabrics that featured polyurethane or urethane coatings, which accounts for most of the “nicer” drybags for kayaking and cycling.  I bought a few to take with me to fabric vendors, but the vendors were unfamiliar with this fabric.  If we’re interested in that we’ll have to do some additional searching, probably working together with our factory.  Here are the urethane & polyurethane bags I bought as samples.

IMG_3502

This week, in addition to the side panniers, we started developing our rear duffle and rackless pannier.  We want all three SKUs prototyped before we reach out to factories.  Having multiple SKUs will help us meet the fabric minimum orders, plus we’ll have a larger opening order for the factory, which will help attract a better partner.

Luggage

  • Pannier: We’re happy with the current dimensions and shape of our pannier prototype, so the focus has shifted to the mounting system.  This week we made and tested several mdf mockups, ultimately settling on a final shape which Andrew drew in Adobe Illustrator and sent to Hein for CAD & machining.  We expect to have some machined parts to play with next week.

IMG_3362

  • Rear Duffle: Lots of progress on the rear duffle this week.  Our first proto was a roll top with a large beavertail.  We didn’t like this design at all, plus there’s a lot of bags like that already out on the market, so we quickly started making changes.  Our new concept calls for a double-ended roll top (so the rider can access his/her gear without unstrapping the bag) with a two-part cascading beavertail on the top for jacket storage and/or a wet tent, garbage,or other items that need to be kept outside the drybag.  Here’s Andrew cutting off the beavertail on our first round proto so we can mess around with placement.

IMG_3329

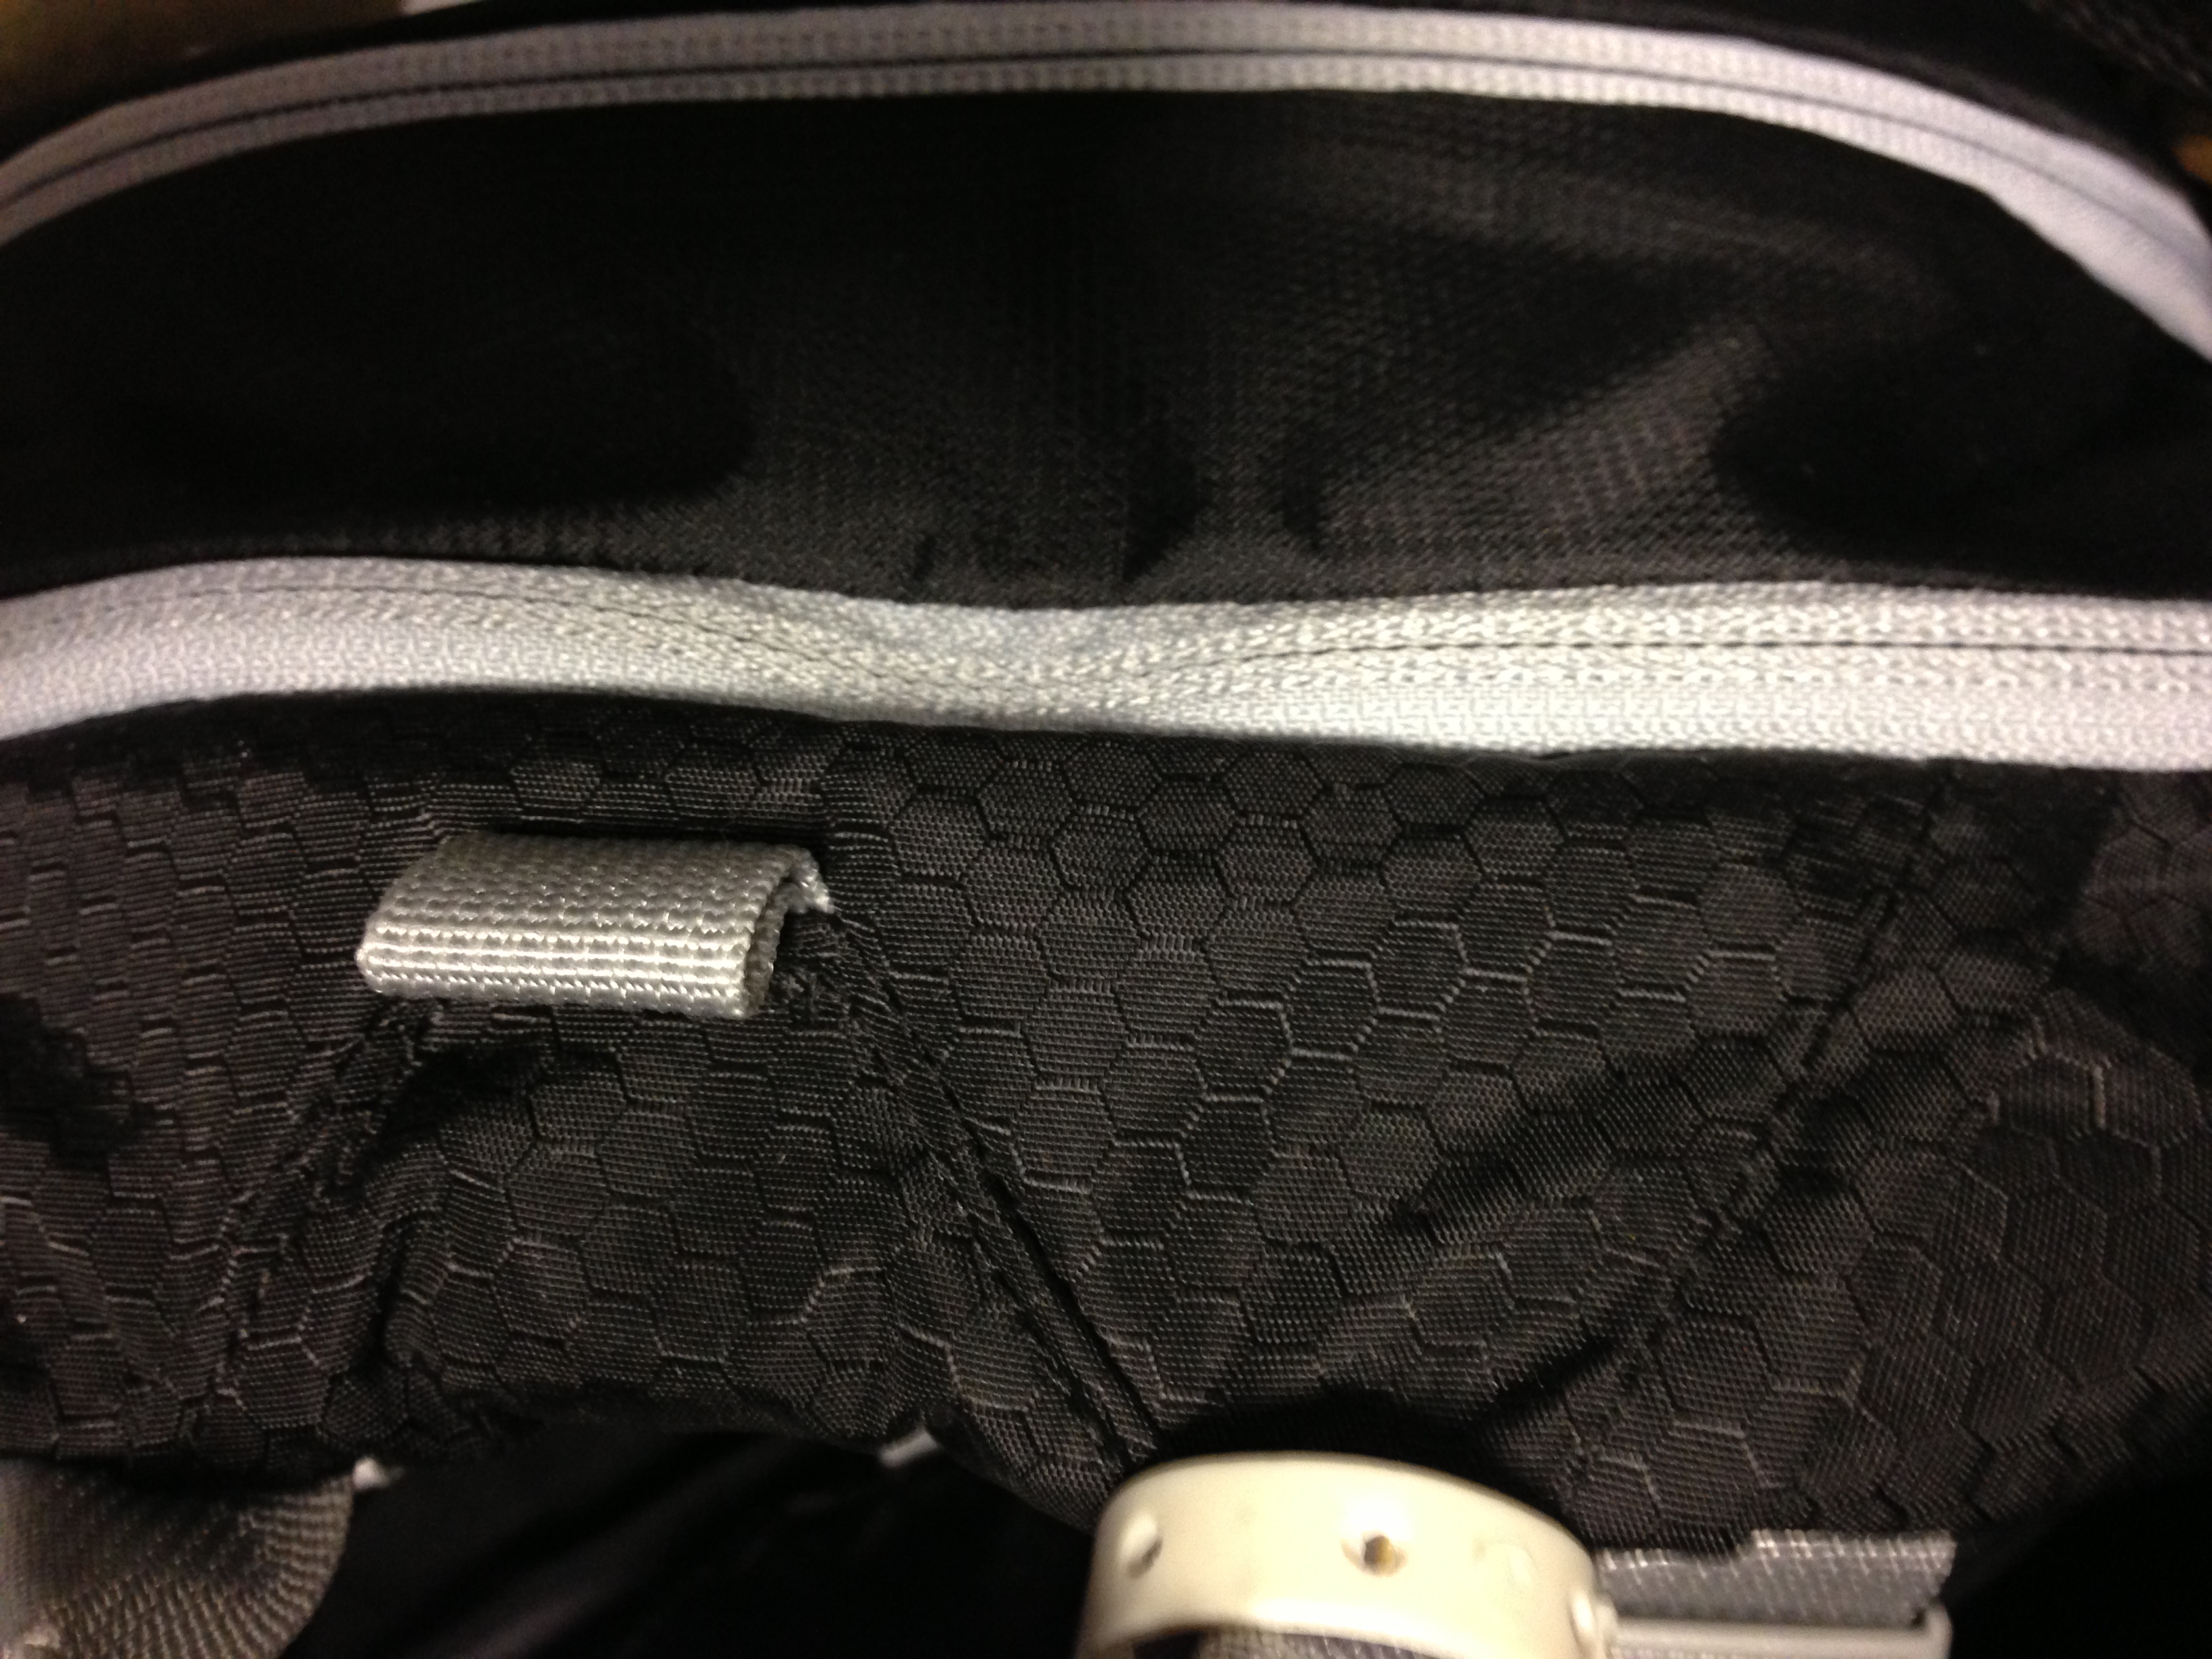
The duffle will have backpack straps that tuck away into a hidden pocket when not in use, like this:

IMG_3387

It will also feature molle panels for adding accessories.  Here we’re cutting some webbing with a hot knife for our proto.

IMG_3410

  • Rackless Pannier: This week we also started sketches for the rackless pannier.  We like some of the stuff that Giant Loop, Kriega, and Wolfman are doing, and we’ve brainstormed some additional ideas for our own version, which will feature some significant design improvements.  More later!  Brainstorming:

photo 1

Apparel

This week we also contacted some freelance motorcycle apparel designers to start on our riding apparel.  Motorcycle apparel is an extremely technical and specialized field so we’ll definitely need help.  On the one hand we feel like we’re just getting started witht he bags, so we’re biting off a lot of additional work by starting the apparel assortment simultaneously.  On the other hand we also know that it’s going to take 1-2 years to develop apparel, and 6 months from now we’ll wish that we’d started 6 months earlier.  So we’re going for it.  Here’s our first apparel brainstorming session:

IMG_3467

An interesting and unexpected bonus this week was a crash-course on addwords, SEO, and internet marketing from a close friend who runs a company that specializes in this.  It doesn’t have much to do with “designing,” but it was fascinating nonetheless.  I am sure this will come in handy down the road when we get to “marketing.”  It was cool to watch his dashboard with all the campaigns he is managing  as they updated in real-time with click-throughs and purchases.  Mad Men it was not.

IMG_3494 - Copy

The ball is rolling.

Patience Required

October 24, 2013

Before we started Andrew told me that designing a bag is similar to building a house: the frame goes up fast but everything else takes a long time.  That has certainly been our experience.  Getting to the first round prototype was relatively easy but now there are so many additional details to figure out.  This week we spent a lot of time on seam lines, features, fabrics, and the mounting system.  I wouldn’t be surprised if we go through at least 4-5 prototype rounds before we even approach a factory.

On the one hand I’m really excited to get to a finished product; but on the other hand there is a lot to be said for progressing slowly and taking time to reflect between rounds.  I’m very glad we decided to design around physical prototypes instead of computer illustrations.  I see now that a lot would be lost on a computer.  Nothing beats having a prototype that we can touch and feel, even if it’s just a rough approximation of our final idea.  Here’s the current prototype mounted on Andrew’s KLR for a test ride.

prototype

Some things we’re discussing now:

Fabric: in the latest proto we used a 34 oz PVC for the outer facing panel.  It is extremely thick and abrasion resistant and we like it so far.  On the side panels we used a 1000d nylon (similar to cordura), but we’re not too crazy about it.  Instead we’re going to experiment with “Ballistic” nylon/cordura, a fabric that was originally designed for military flak jackets and which is now used on a lot of outdoor and tactical equipment as well.

ballistic_nylon_fabric_heavy_duty_enlarged

Compression: We want the pannier to have a lot of expansion/compression capabilities.  Top down compression is supplied by the roll top, but for side compression we need compression straps.  Our current prototype has 4 straps, two on each side, and they pull against the front stiffener, effectively sandwiching the contents of the bag between the stiffener and the rear attachment plate.  This makes for a very secure load and clean look, and seems to work quite well.  We are also planning to add a removable compression strap on the top, which would go over the roll top.

Keepers: One issue with compression straps is that when the bag is fully compressed there are a lot of loose straps that flap around in the wind.  This looks crappy, plus it creates a risk that the straps catch on a moving part or rest on the tail pipe and melt.  We need to find a way to control the excess strap material.  Some options we’re considering:

  • Web Dominators

dominator

  • Strap Keepers

keeper

  • Elastic Bands

straps

  • Velcro

$(KGrHqMOKowE54(GBSmGBOfrH+o2ZQ~~60_35

Each of these has it’s own pluses/minuses.  More testing required.

Pocket Closure: Our original external pocket had a zipper closure but we’re concerned about zipper failure, so we want to experiment with a roll top closure on the pocket.  We’d like to avoid zippers if possible, because those are often the first things to fail over time.

Clips, Buckles, & Handles: we’re planning to use aluminum in all the high impact/abrasion areas.  This will cost a lot more than plastic but it will also be a lot more durable.  We have a parts book from the buckle factory and are sorting through it to find ones we like.

photobuckles

External Storage:

  • We designed the pannier with an external pocket that fit two MSR-style fuel bottles.  The pocket can also be used for tools/tubes etc.  It also fits a 6-pack of beer.
  • We also want to make full use of the bottom and sides of the pannier.  To do that we are planning to use MOLLE strips & stix.  MOLLE is a military acronym that stands for Modular Lightweight Load-carrying Equipment.  It’s used in tactical and military applications for attaching pouches, ammunition clips, first aid kits, holsters, and other accessories to tactical vests and luggage.  It’s easier to see than to explain, check out this video: http://www.youtube.com/watch?v=OqeSxjZGap4

SONY DSC

  • Using MOLLE, the three non-impact sides of the pannier can be used to carry things which the rider needs quick access too, or which the rider does not want to store inside his/her drybag.  Some examples include tools/tubes, water, and fuel.
  • In addition to this the MOLLE panels would be usable for all sorts of existing tactical pouches and gear that are already designed and out on the market, and we could create some new moto-specific accessories as well.

This week we also made more progress on the mounting system doing our home-made prototypes in MDF wood.  We’re meeting with Hein next week and would like to get him started on the CAD drawings so we can machine our next round of prototypes in HDPE.

IMG_3181

Also this week we started brainstorming our duffle design, lots more to follow on that.

Oh yeah… and there was more of this:

IMG_3334

Back to the Drawing Board

October 17, 2013

The trunk of my car is starting to look like a bag designer’s.  In this pic, I count six different bags by five different companies.

IMG_3165

We have our first mockup from Chip and are making some changes.  Our primary goal is to finalize the dimensions so we can move on to “features.”  Some things we learned:

1) It’s too big.  Our original design came in at 60+ liters for both panniers.  It looks huge next to a bike, almost like a hard bag.  So we’re trimming the size and adjusting our patterns, bringing the volume closer to 46 liters for both bags, 52 liters with pockets.  Capacity can be increased using the roll-top, or decreased using compression straps.

2) Even with a smaller size, stiffeners and foam are needed to support the weight of the bag and its contents.  For the next round we’re including an outer layer of abrasion fabric (34oz pvc) , a polyethylene protective panel/stiffener, foam for cushioning, and an inner liner to hold all these parts together.  Plus we have our inner waterproof liner, so it’s a bit like making 5 bags at once.

IMG_3175

3) Our exterior pocket is too small.  We want to fit two 1 Liter MSR-style fuel bottles.  That way the rider can carry an extra gallon of gas over two panniers.  With our original design, two bottles would fit but one would rub the zipper, which could cause the zipper to fail over time.  We’re also planning a second external fuel storage solution, so the rider can choose between using the main pocket for fuel or using it for tools & tubes.

4) Our roll top doesn’t work the way we hoped.  Our first design featured a “teardrop” for the roll, which is something we see on a lot of nicer drybags.  A teardrop reduces the extra material to be “rolled” in closing the bag.  However this makes the bag’s throat so small that we can’t remove a fully stuffed liner.  Plus it looks crappy.  So we’re going back to a straight-throated bag for the next round.

Teardrop Throat

IMG_3089

Straight-Throat

IMG_3091

This is what my kitchen looks like after an afternoon of pattern revisions.  I barely even knew what a “pattern” was a few months ago.

IMG_3151

With the newly revised patterns, a bunch of changes, new fabric that’s closer to our final spec, and some added accessories like compression straps & buckles, we headed back to Chip’s for another round of cut & sew.

IMG_3174

And then… because the weather’s sunny and the dirt’s perfect…  we left the “office” early to enjoy it!

IMG_3187

Next up: reviewing the revised prototype, adding exterior features, more focus on the mounting system, and starting on the duffle shape.

More Progress

October 11, 2013

This week we’re working on creating a very rough mockup of our pannier shape.  I’ve been learning a lot about things like patternmaking and stitching, which I really knew nothing about until this project.

We want to create a very fast, simple prototype of our shape just to check dimensions and make sure we’re headed in the right direction before we start choosing fabrics or adding straps/pockets/buckles/etc.  For this purpose we’re using a soft nylon fabric scrap that Andrew had sitting around.  This is not the actual fabric or color we plan to actually use in the bag.  We just need a basic 3 dimensional shape to look at before we continue designing

Here we’re meeting with Chip to create the patterns that will make up our bag.  A pattern is like a stencil, which is used for cutting a piece of fabric that will be combined with other pieces to create the final shape.

fr_1202_size1024

Once we created the patterns we added a 1/2″ seam allowance around each pattern so there will be extra fabric around the edges that gets sewn into the seam.  These are the puzzle pieces that will make up the bag when sewn together.

fr_1214_size880

We laid out the patterns on the fabric and traced their outlines, plus made a series of marks on each one so they can be matched up in the sewing process.

fr_1222_size880

Then we cut these out and handed them off to Chip for sewing.  It was very interesting to watch him work.  He really knows his shit.  There’s a lot of skill required to translate the 2 dimensional seams and patterns we laid out into an assembled 3 dimensional shape.

fr_1226_size880

fr_1228_size880

Tomorrow we meet again to review the initial mockup and see where we stand.  Even just in the initial pattern making and sewing we can see there are going to be some big changes needed.

Mounting System

October 7, 2013

Most soft panniers mount to the bike with straps, so the bags bounce around a lot.  Plus the straps are a total pain in the ass to get on/off the bike.  I generally take my panniers off at night regardless of whether I’m camping or in a hotel.  Last winter in Central America there were a lot of mornings where I found myself fidgeting to get my soft panniers back on the bike, sweating like crazy because it’s HOT and I’m in all my moto gear, and of course surrounded by people on the street who gathered to watch.  At those moments I really missed the one-click mounting of hard cases.

Andrew and I want our bags to have an internal hard frame, kind of like a backpacking “frame pack” for your moto.  That way the bag/bike connection is between two hard surfaces, which eliminates the bouncing when riding offroad.  Another advantage is that we can create an easy on/off mounting system, similar to a hard pannier.  Until last week we were picturing something similar to the happy trails or kriega mounting systems, i.e. using 3-4 little metal clips which can be mounted wherever necessary depending on what kind of pannier rack was being used.  Here’s what those other systems look like for reference:

2013-kriega-60-overlander-60-overlander-info-4

htpanniermount

We had thrown together this plywood prototype for illustration purposes and it seemed to work OK:

photoproto

But then last week we met with a local engineer who creates a lot of high tech stuff for aerospace and machinery, plus he’s a plastics expert, and he steered us in a different direction.  He pointed out that all those little metal clips are clumsy, expensive, and prone to failure.  He suggested going along the lines of something larger and simpler with more contact area.  His idea was to make a “wedge,” like a puzzle piece so the bag slides right into place, and gravity does some of the work.   We really liked this idea.  Today we mocked up a proto in MDF and it works great.

photomount

Materials-wise, we ‘re planning to use either high density or low density polyethylene (HDPE or LDPE).  I’ve been reading a bunch about this material online.  It’s a totally bomber plastic that is fairly common and can withstand a lot of stress before breaking.  This is the same stuff Kriega is using on their mounting plates (LDPE).  More info on HDPE is here: http://en.wikipedia.org/wiki/High-density_polyethylene.

Excited to see this new mounting system come together.

Busy Week

October 4, 2013

Busy week at Mosko.  Learning a lot about bag manufacturing and materials.

We have some initial high level sketches of the panniers, but now we need to translate those into physical prototypes.  We decided that it would be more efficient to work with a prototype as opposed to trying to design everything on the computer.  In other words we will have a local seamster (who we met with this week) create the initial outer bag, and then we will work on adding features like compression straps, outer pockets, etc later once we have a physical prototype in hand.  The problem with designing everything on the computer is that a) it’s very time consuming and b) things that look good or seem to work on the computer don’t always translate into a physical product.

This local seamster we met, Chip, is a sailmaker and master seamster who lives out in the countryside with his wife in really cool little house they built from hand.  He’s extremely talented.  In addition to sailmaking he has done a lot of outdoor gear for local companies here in the gorge.  Really cool guy.

Two of the panniers we’ve seen out in the market and really like are:

Wolfman Expedition Panniers: I own a set of these and so do some of my friends.  they’re bomber construction, simple, and inexpensive.  Made out of PVC material with welded seams.  As long as you don’t tear the outer material, they’re also waterproof.  However they’re a pain to get on/off the bike, they are round (which wastes space), they have no exterior pockets or alternative access points for tools/tubes etc, and the connection straps are on the outside of the bag so they’re the first things that break if you go down.  Plus the attachment system is clumsy.  Overall though these are good bags and they get the job done.

Exp_Dry_Saddle

Kriega Overlander 60: These are new and I haven’t seen them in person, but they seem pretty cool.  Made from cordura on the outside and a waterproof liner on the inside, they separate the abrasion resistance from the waterproof layer, similar to the BMW Rallye jackets.  This is a cool setup because when you crash you don’t lose your waterproofness.  They also have a quick/easy on/off system unlike the Wolfman.  Plus they’re rotopack compatible if fuel carrying is an issue.  Seems like a cool system, I’d like to see one in person!  the main downside here is the price of $800.  That’s nearly as much as hard bags!

kriega-system

We’re researching fabrics, but in general we like the idea of separating the abrasion/waterproofness and we also like the idea of a fabric exterior (as opposed to PVC) because you can add a lot more features to fabric such as pockets, compression straps, access points, etc.  These things are very hard to do with PVC because everything needs to be welded not sewn, and welding is very limiting.

Right now we’re thinking that we’ll do an exterior in cordura or some other ballistic material and an interior from pvc.  The pvc is great because its bomber and total waterproof, so if you pull out the liner on a trip and take it over near the campfire or into you tent, you don’t have to worry about puncturing it.  The cordura is great because it protects the pvc from abrasion, and can support a bunch of exterior features.  So that’s the angle we’re taking.

With respect to the mounting system, we met with an awesome engineer this week here in the gorge who gave us some really creative ideas.  His name is Hein.  Previously we had been looking at a quick release system similar to Kriega or Happy Trails, using little metal clamps and some kind of quick releases.   Hein got us thinking in a whole new direction.  More on that to follow.

photo3

Working on the mounting system

We’re really rolling now.  On Monday we should have our initial pannier design off to Chip for pattern-making, then we’ll start building some prototypes of the mounting system out of mdf.  Our harbor freight bandsaw had some major issues this week including a blown motor, but seems to be working ok now after a bunch of retrofitting.

About Me

October 1, 2013

I was born in Philadelphia and spent the early part of my career working in downtown Seattle. I quickly realized that I wanted to live closer to where I play, so I moved to a small town on the Washington side of the Columbia River Gorge, just outside Hood River, Oregon. This area is well-known for windsurfing, mountain biking, camping, fishing, and kayaking. It’s also a great place for riding. There are hundreds of miles of single-track trails, plus thousands of miles of forest service roads and jeep tracks for dualsport camping adventures. Plus Hood River itself is a cool little town with lots going on and a committed, adventurous group of local riders.

apg4

Hood River

Professionally, I spent the last 10 years working in a consumer product design and manufacturing business developing a wide variety of novelty products for major US retailers. We worked in almost every imaginable substrate — plastic, metal, fabric, wood, etc — designing hundreds of new items every year. The huge variety of materials and rapid rate of change made it an interesting place to work, but it always bothered me that I didn’t have more of a personal connection to our products. I wasn’t in the “target market,” so we were always designing for someone else.

Every year we experienced a seasonal slowdown in the winter. During this period I was able to take some time off to travel. Every chance I got I would head off to some distant part of the globe, searching for a bike to ride and getting as far off the beaten track as I possibly could. Over the course of ten years I completed moto trips in countries like Vietnam, Mexico, Uganda/Rwanda, Columbia, Bolivia, Argentina, India, Honduras, and more. Sometimes I went alone and sometimes with a friend, but either way the trips were always un-guided and un-supported, and I rarely made any plans or commitments before boarding the plane.

A (10192)

Uganda

For me there is something totally addictive about exploring a place by motorcycle. It’s my favorite way to travel. There are no schedules, no windows, no doors, and no established routes. I feel the temperature, see the sights, and smell the smells in a way that I wouldn’t in a car, bus, or train. When it rains, I get wet. When it’s hot, I sweat. And it’s a great way to meet people. When I pull into a new town people walk right up and introduce themselves. The passion for motorcycles crosses cultures, borders, religions, and race… even language. Those initial conversations then lead to all kinds of interesting and wacky invitations, which often become my favorite experiences of the trip. In my opinion, there’s just no better way to experience a place than on a bike.

SAmerica (1354)

Bolivia

Bikes, for me, are about getting deep into the backcountry to find epic campsites, or border-hopping through the remotest corners of the world. They’re about seeing places that aren’t seeable any other way. They’re about getting off the pavement and out of my comfort zone: climbing mountains, crossing rivers, and traversing deserts. They’re about scratches, dents, and scars, and the stories behind them. They’re about taking a machine to places I didn’t know I could go. They’re about pushing boundaries.

DSC00650

La Moskitia (Honduras)

Starting this new business is about pushing boundaries too. As a consumer I have some strong opinions about motorcycle luggage, but the truth is that I don’t know the first thing about designing or making bags. So there’s a steep learning curve ahead, which is both motivating and a bit scary. Fortunately my partner, Andrew, is a talented industrial designer, plus he’s been the senior bag designer for a major US action-sports brand for the last 8 years. So I know we’ll create something really cool, and something that’s better than anything that’s out there now. But it’s still a big leap for both of us, setting out to create a new business.

Just one more way that motorcycles have changed my life.